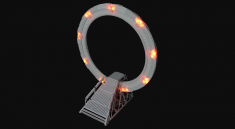
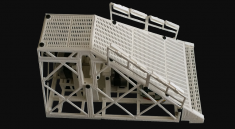
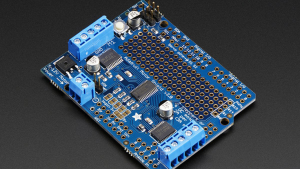
 It’s been three years since the release of the Mk2 Stargate, and 3D printing has grown a ten fold in that time. Many of you making the stargate now are new to the world of electronics and might be having problems following the original circuit diagram (based on questions I’ve received).
Below I hope to answer many of those questions.
Q. The circuit diagram shows all the components connected together?
A. Components such as LED’s need to be connected to the + and – rails of the power supply. The components in the diagram are only connected as such because they all need + and -. They don’t need to be directly connected to each other, just connected to the relevant rails.
Q. What are the resistors for?
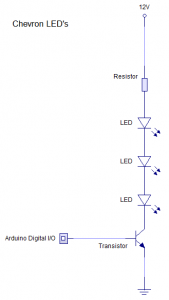
A. Resistors reduce voltage or current. In this particular circuit we are using them to reduce voltage. For example, the three LED’s in the chevron’s connected together need 7.5v, but since we’re connecting to a 12v power supply we need to reduce the voltage.
Q. What are the transistors for?
A. The Arduino itself cannot supply enough current (amps) to drive all the LED’s. The transistor acts as an electronic switch allowing the voltage/current to be supplied from a separate power supply.
Q. Why two different voltages (12v and 5v)?
A. The Arduino runs on 5v, but the stepper motors need 12v. There are methods to run the Arduino from 12v, but that is beyond the scope of the FAQ.
Q. Why are the chevron LED’s connected in series (on after the other), whereas the ramp LED’s are in parallel (side by side)?
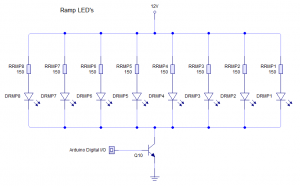
A. The chevron LED’s are 2.5v; connected in series this makes 7.5v. The ramp LED’s are 3.2v; connecting four (either side of the ramp) in series would be 12.8v which is higher than our 12v power supply. Connecting them in parallel means the voltage stays the same, but it does increase the current requirement instead (60mA * 8 = 480mA).
Note: There are many ways to connect components. My example is just one approach.
Q. Can you supply an electronics kit?
A. I have no plans to do this at the current time. It’s probably much easier for you to buy the parts locally or from reputable international suppliers.
Q. Can you supply a PCB without components?
A. I have looked at sourcing PCB’s. However it’s not cheap and I think it’s easier to use a breadboard or prototyping board.
Q. Does it matter which Arduino pins I use?
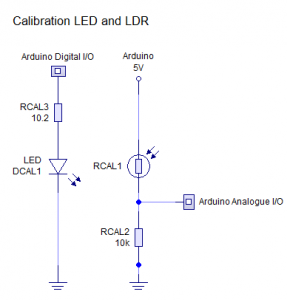
A. You need to use the digital I/O pins for the LED’s and the analogue I/O pins for the LDR. Otherwise, no it doesn’t matter providing you update the code with the relevant pins you have used.
Click on the images to enlarge.
