 Success. I have modified the moving parts for the top chevron and it works as intended. The stepper motor in the base is now able to control the chevron.
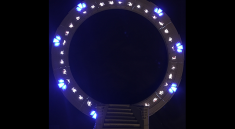
The attached video shows mostly the whole gate. This is mainly to show the chevron is actually being controlled as part of the dialling sequence.
I’ve used three LED’s in each chevron. This does have the unfortunate effect of blinding the camera and making it hard to see the chevron move. I’ve included a close up of the top chevron as a picture-in-picture to help show the detail.
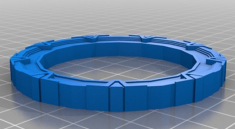
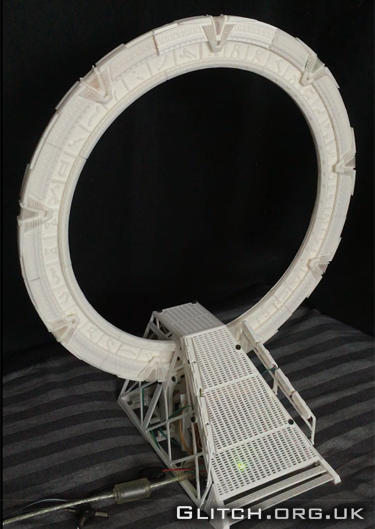
The top detail piece is thicker by 2mm to accommodate the larger moving parts. I will need to modify the remaining pieces of the gate to give a nice flush finish. The base will also need to adjusted and I want to relocate a few screw fixing holes which became apparent when I fitted the whole gate and base together.
This does mean I’ve missed my original design goal of making the mark 2 gate exactly the same size as the mark 1. However, since it’s only thicker by 2mm. I’m not too far out.
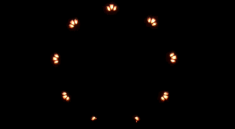
Calibration works by way of an LED and Light Dependent Resistor (LDR). There is a hole in the Pisces symbol (glyph 21), which is almost opposite the Earth symbol (glyph 1). There are corresponding holes in the gate segments that sit into the base and line up with the Pisces symbol when Earth is under the top chevron. The hole is practically invisible due to its small size and rest of the gate being the same colour.
To print this model requires 110 pieces for the gate and 38 for the base. That’s 148 in total.
Note: The below video is 65mb’s in size. Here is a youtube link if you need to view the video in a different format.